Vector Wizard
The Vector Wizard is found inside Auggie CAM control software, not inside Gearotic CAD, but inside Auggie under the Auggie Vector Processor. It is also know as Vector Wizard, we call it our fun yet controlled play space to deal with active vectors. To activate, open Auggie and click the “CONS” button to activate. It is our workspace to build, design and simulate workflows of various nature. It offers most of the usual tools found in CAD drawing programs, but with a twist. Vectors you make or load become concurrent to the laws of physics in movement and principle, as part of our kinetic engine in Auggie. The new soon to be released “Ticker” module, improves this application twofold, however the original Vector Processor worked well enough in what it does. Not only is it fun to use, but combining it with Gearotic CAD, Vexx and Auggie, offers it an inspiring way to make your design virtually real. You’ll also find that this is yet another one of Gearotic CAD first of its kind, and if you couple that with the Harris Vines in Vexx, or Flourish found in Auggie Vector Processor, you have tools unknown to other CAD software programs out there and perhaps usefuk to make your design unique. These tools actually let you grow vines into a control conformed space. We suggest you review our videos to explain it more, however we challenge you to give it a try and see for yourself.PS, don’t forget to tell us what you think by providing feedback?


Auggie CAM controller Software Example of Harris Vines

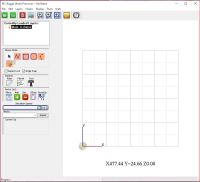

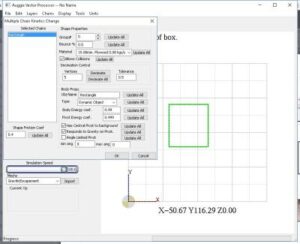
Some of the tools and features inside our Vector Wizard processor.
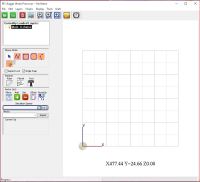
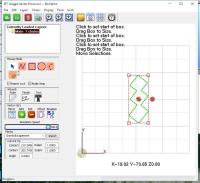
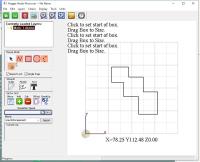
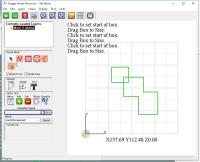
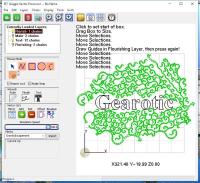
Flourish Module.
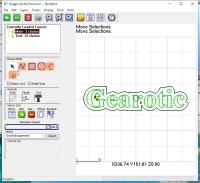
Step #1. In this example, I plan to generate a vine inside a box, but around some text. To achieve this, I first generate the text “Gearotic”, then perform an offset around the letters. Since vines can grow beyond the borders at times, I decided to create an offset so my letters would clear any vines.
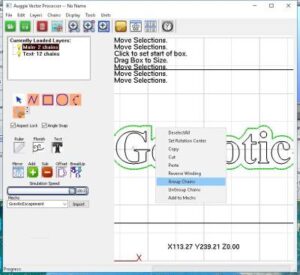
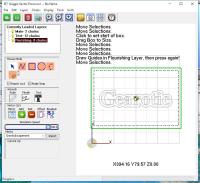
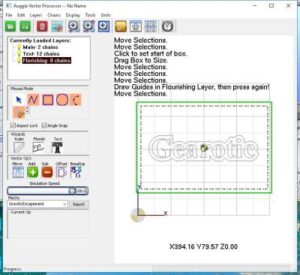
Step #2. I then created a square to be my outline for the vine. Once done, I selected both vectors and grouped them to become one chain in my main layer. Since our processor deals with layers, you must copy or move these chains to the appropriate layer in order for it to work.. Once I click the flourish button, it asks to set contours. Simply copy or move your chains to the flourish layer and click the Floiurish button once again.
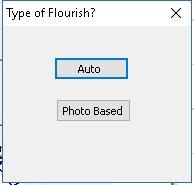
Step #3. This should open up the Flourish type box. We need to select” Auto” for vectors, but you could use “Photo Based” on pictures also.
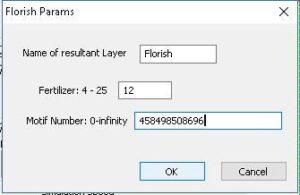
Step #4 Once Auto is selected, the Flourish parameters box opens to accept your input on specifics, and how you want to grow your vine. The smaller fertilizer value you use , the larger the roots become, therefore using a higher fertilizer number means more roots and the smaller the clusters in your vine. The Motif number can be set to anything. It is used to represent a specific algorytm function depending on the number you input, other than default values, duplicates are highly unlikely.
Step # 5 Once you select OK, your vine is grown and ready to be used or exported as a new vector.
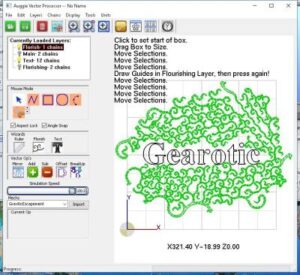
Step #6 This is the final step, end result is a digitally grown vine within a specific area. Vine may be exported as a DXF, or you can export it as an image for decorative purposes only.

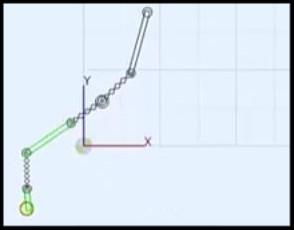
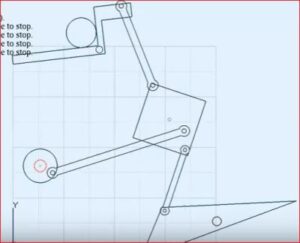
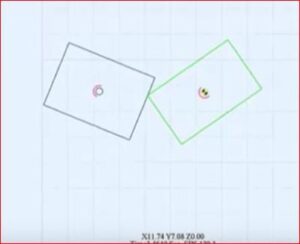
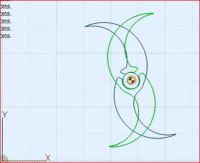
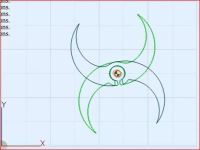
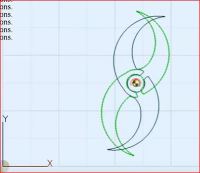
Below is a series of clips taken while designing motion inside Auggie Vector Processor.
Since default settings are set to work in most cases, user continues to have access to these parameters and can change them to meet new specifics. Some of these vector options are to apply gravity, have a pivot point, or simply be static. You basically set the rules of your vector object as part of your design and play it out as a simulation
